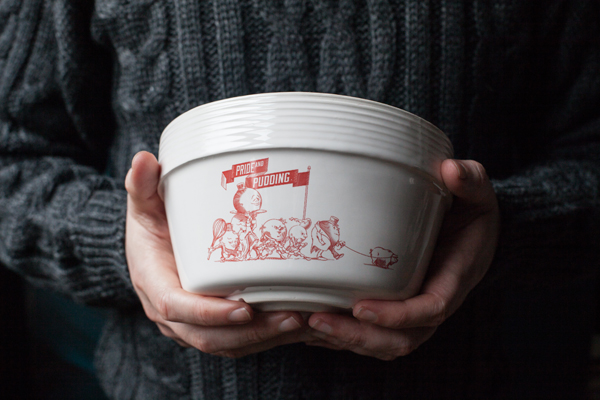
 At some point when I was working on Pride and Pudding, probably in one of those moments of super clear thoughts in the middle of the night, I decided I wanted to try and create a Pride and Pudding – pudding bowl. Since I have been collecting the vintage and antique pudding moulds of England’s past, the need for creating a new one was great. In fact, it became something that nearly seemed impossible to pull off. But when I was introduced to the ceramics artist Solomia Zoumaras by another potter in their studio in Hackney, the first little piece of the bowl was made.
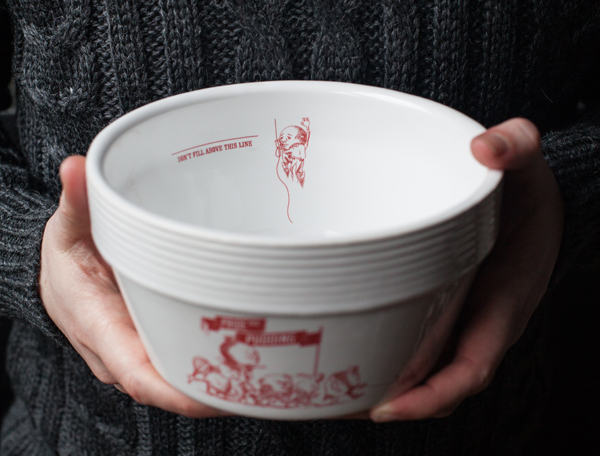
It took 6 months from that first meeting, several skype calls, messages, visits and samples, until I picked up the first finished bowl last week. Today 25 handmade bowls are available for sale in the Limited edition package of the book, and for 5 days only it is still possible to choose your illustration from the book for your signed print. The limited edition pack contains a signed book, a 5 piece postcard set, a signed illustration print and this amazing illustrated pudding bowl. You will find more information about the pre-order here on the book page >
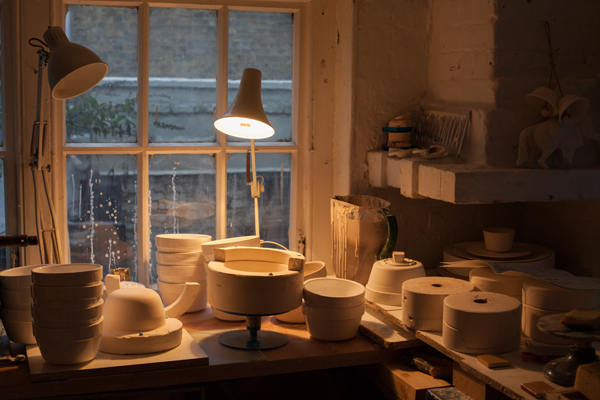
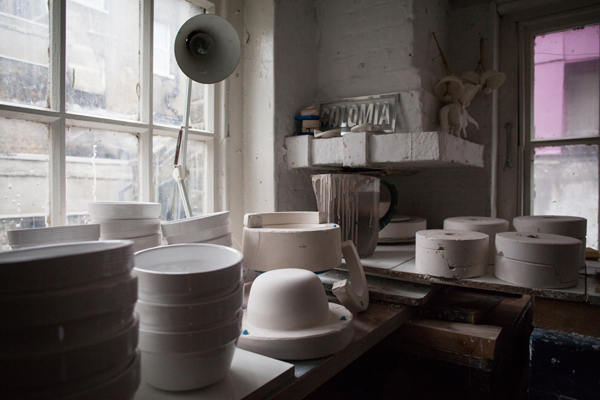
But the reason for this post is about the incredible art that is pottery. I want to celebrate Solomia and tell you how the basins were made. It is a fascinating process and I will never look at a piece of pottery the same way again. Watching The Great British Pottery show on the BBC was great, but seeing this come to life showed such complexity and skill, even though it might look like a very simple design. Over to Solomia who will take you through the process which I have tried to document with pictures in her studio in London.
Making the pudding bowls – The process, by Solomia Zoumaras.
Stage 1
Drawings, dimensions, volume calculations
A template is cut out for reference when plaster turning.
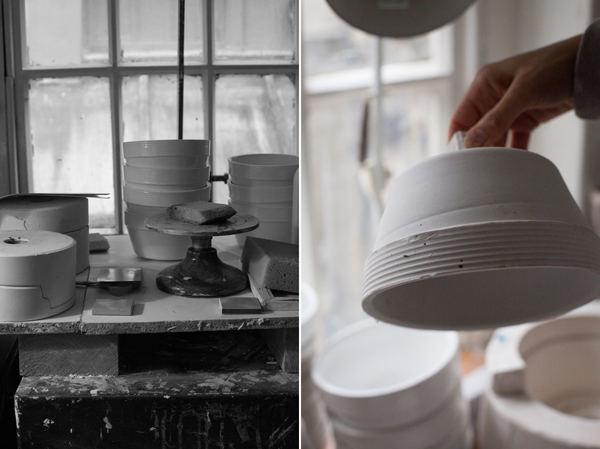
Plaster is then measured, mixed and poured into a cottled chuck head.
The Plaster filled chuck head is then attached to the turning lathe.
Plaster turning commences. Chisels and other work tools are used to hand turn the outside profile.
Once completed the pudding bowl prototype can be sawed off the lathe.
Pudding bowl prototype presented via a Skype call. Given thumbs up.
Making a model for slip-casting – double cast mould
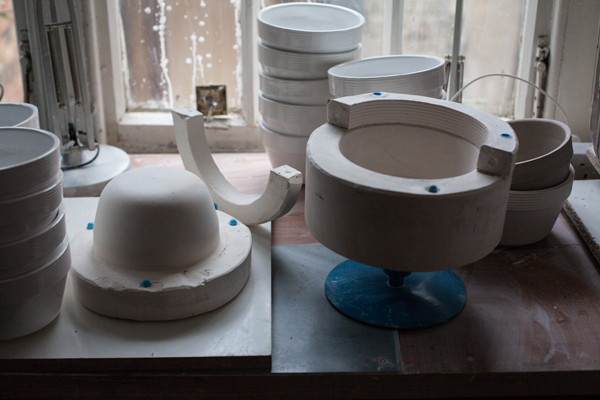
Pudding basins always have a different interior to exterior. To make a mould of just the outside profile will not create a cast that has a different interior. For large-scale production a factory would take on a method called jigger jollying. For small batch production I created a plaster shell of the bowl so I can make a double casted mould for a process known as slip casting.
Stage 2 – Making the plaster shell
- Inside profile of pudding bowl is drawn and cut out.
- Plaster is mixed, poured into a cotteled chuck head.
- Plaster turning commences for the inside profile of the pudding bowl.
- Once completed the inside profile is taken off the lathe ready to get soft soaped (a releasing agent). Plaster is mixed, poured on top of the inside profile. Plaster turning on top of an inside profile creates a plaster shell. A plaster shell will release once the plaster is fully set.
How it’s done:
- To start the process of making a plaster shell you have to turn plaster when it’s not quite set, so its soft, ‘cheese like’.
- A few minutes goes by when your waiting for plaster you just poured onto the inside shape of the bowl to turn ‘ cheese like’. The plaster filled chuck head is then carefully attached to the lathe.
- Using a metal template of the outside pudding bowl shape starts the profile shape of turning. Time is of the essence here as you can only allow yourself 5 minutes before the plaster sets and cures and pops off from the lathe. Timing and precision is cruetial on this stage. Taking too long results in having to start again, a miss hap with a tool or a slight accidental knock will result to starting over again.
- After several attempts, a perfect plaster shell with the right dimensions, rim thickness, foot ring size, shape and detailed lines was hand turned under 5minutes.
Stage 3 – Making the double cast mould
- Plaster shell is soaked in a release agent.
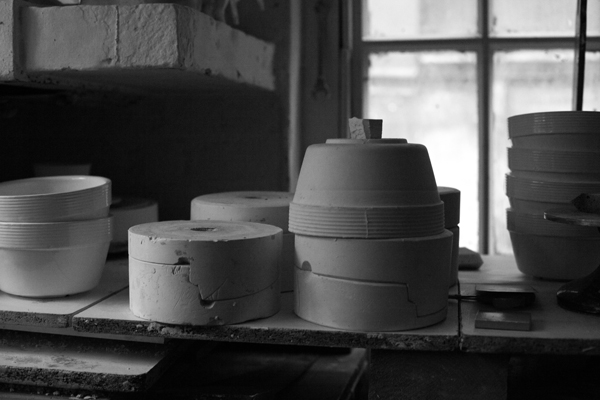
- Muilti-part mould is made.
- Rubber silicon was poured into the plaster mould in order to make a duplicate model of the shell.
- An extra 2 moulds were made using this rubber silicone model because the lines on the surface of the bowl have undercuts. Using a flexible material enabled me to pull out the model without tarnishing the detail of the lines.( When creating the bowls in clay/liquid form these lines do not act as undercuts because of the way clay shrinks when absorbing water from the plaster mould.)
- Mould placed in drying cabinet for 3 days to dry.
Stage 4 – Slip casting the pudding bowls
- Casting slip is mixed and poured into the mould and left to create a cast.
- Once cast has hardened the pudding bowl is ready to release. Air pressure is used to help pop out the cast from the hump.
- The pudding bowls are left overnight to dry so they can be ready for fettling and sponging the next day.
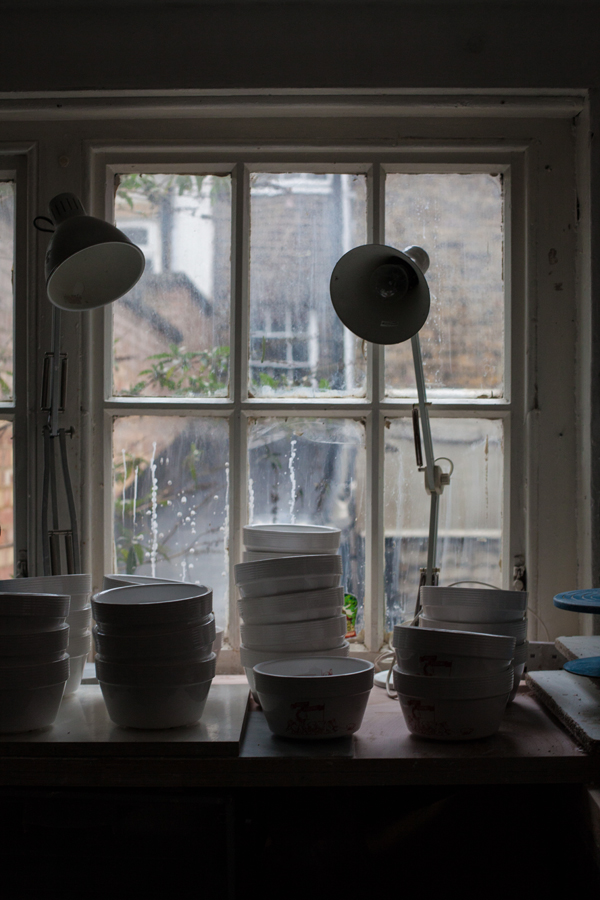
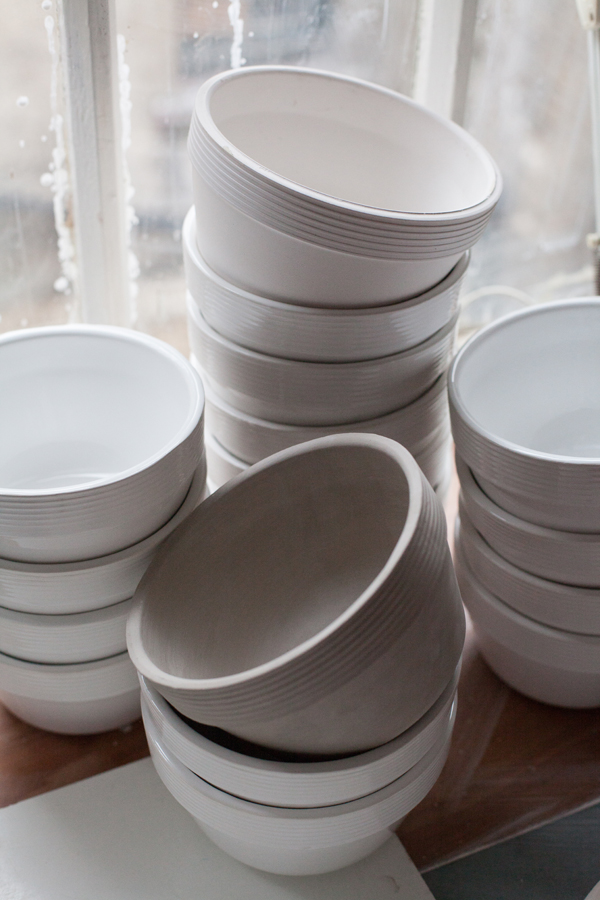
- Pudding bowls are made and left to dry completely before going into the kiln.
Stage 5 – Firings
- The 1st firing is called the Bisque Firing. The purpose of bisquing is to change the clay into ceramic material, without fusing it.
- The 2nd firing is the glaze firing. This is where a glaze is mixed and applied and placed into a kiln so the glaze can fuse into the clay body.
Stage 6 – Glazing
- Several glaze test where produced in order to get the right compatibility with the glaze and the body as well as obtaining the right colour mix.
- All bowls are dipped and poured into a glaze. Inside poured 1st followed by dipping of outside basin.
Stage 7 – Collaboration of illustration onto form and last firing
- Once a fired pudding bowl is produced a design discussion between myself, Bruno and Regula was made over Skype.
- We talked about the form, the purpose of the illustration and placement.
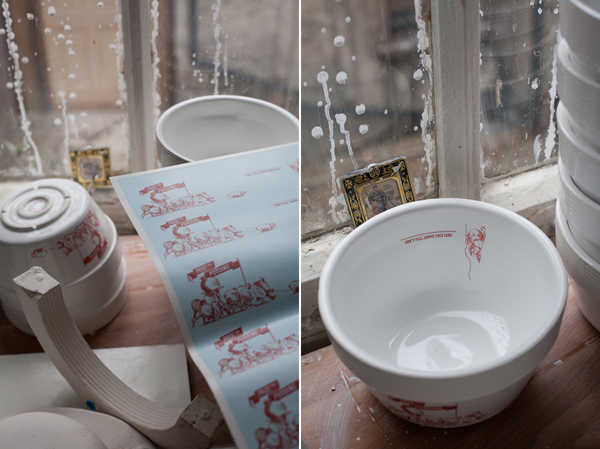
- Illustrations where then drawn up and sent to a digital ceramic printers
- Once illustrations arrived they where cut, placed in a bowl of water, separated from the cover-coat and positioned onto the basin.
- The bowls were loaded into the kiln for the final firing – the Transfer Firing.
 Pride and Pudding – pudding bowl
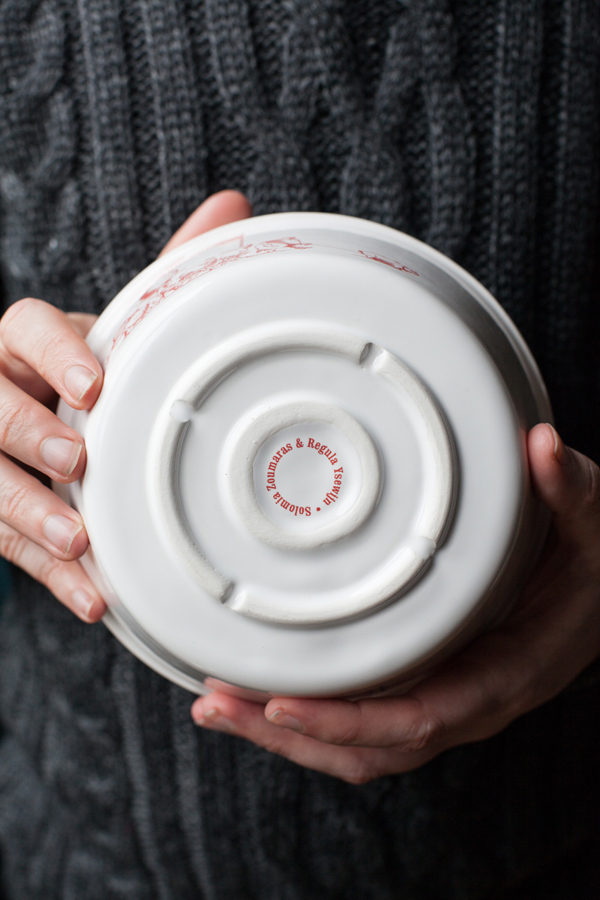
Designed by Solomia Zoumaras, Regula Ysewijn and illustrations by Bruno Vergauwen.
To order online Amazon UK and Waterstones (I don’t receive any commission from sales by clicking)
You might also like:



This is SO fascinating and you realize how much work, and skills, and passion are infused in a “simple” pudding bowl! I so want to buy one of these!
Thoroughly enjoyed reading this post. All the hours, elbow grease, blood, sweat and tears that go into this process of creating ‘just’ a humble pudding basin. I have such admiration for people who follow their dreams and do what they’re passionate about: this is such an insight behind the scenes. And the bowls are super pretty.
All the best with the last minute preps for the booklaunch!!!
Would love one of these! Can’t wait for the book! 🙂
Hello Regula,
This is wonderful stuff … And so is your book. I bought my Dutch copy months ago from Davidsfonds, my daughter bought hers in a bookshop – I now regret not having waited for the English version ?. Will the bowl be available for direct purchase ?
Best regards,
K.
Hi Kat! Send me an email please (see contact page), I can arrange for you to purchase the set without the book, or with an English book. Thank you so much for being an early bird buying it so soon and your daughter too!