I had sloes on my mind the last two times we drove up to Kent…
On both occasions I went home without them…
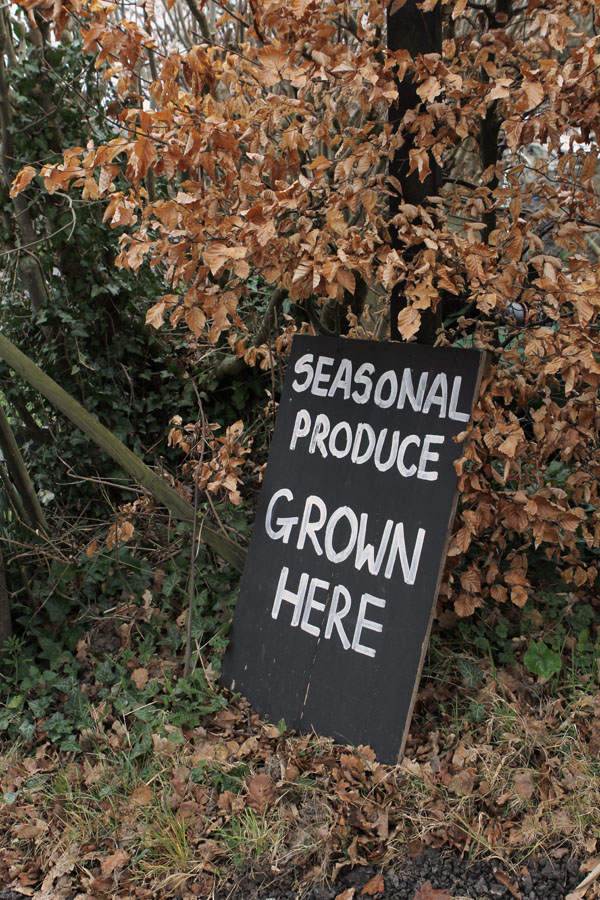
My eyes were on honesty boxes by the road, people selling produce from their garden at car boot sales and little blue-ish dots in the trees we drove passed.
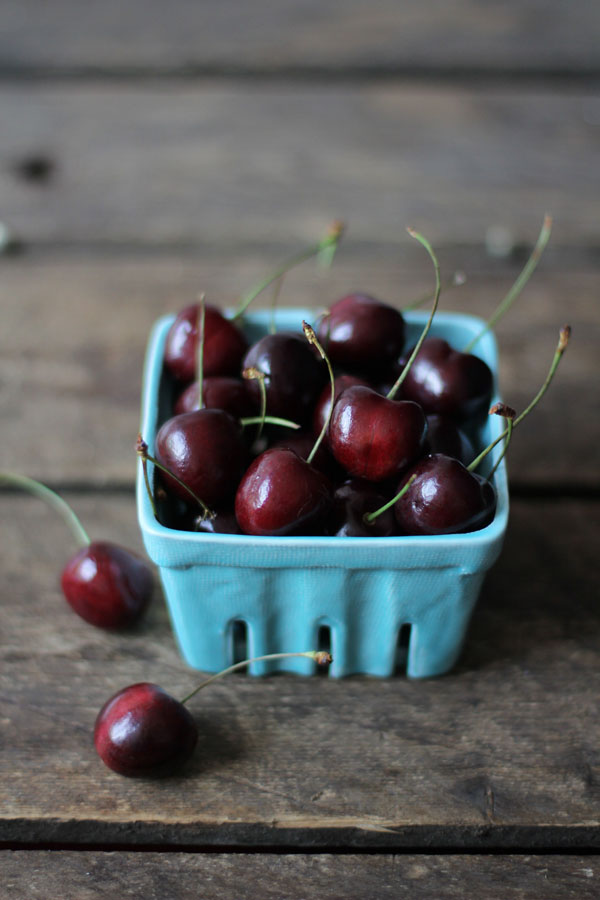
The location of sloe trees is a well guarded secret of those who have discovered them on foraging trips. This makes them even more mysterious to me, I just had to have some sloes. I heard stories saying the native British sloe is so very rare it only grows from ancient trees. They look like black olives, and like olives best not eaten straight from the tree. Sloes are very tart and mostly used to make jams to accompany cheese and for making sloe gin…
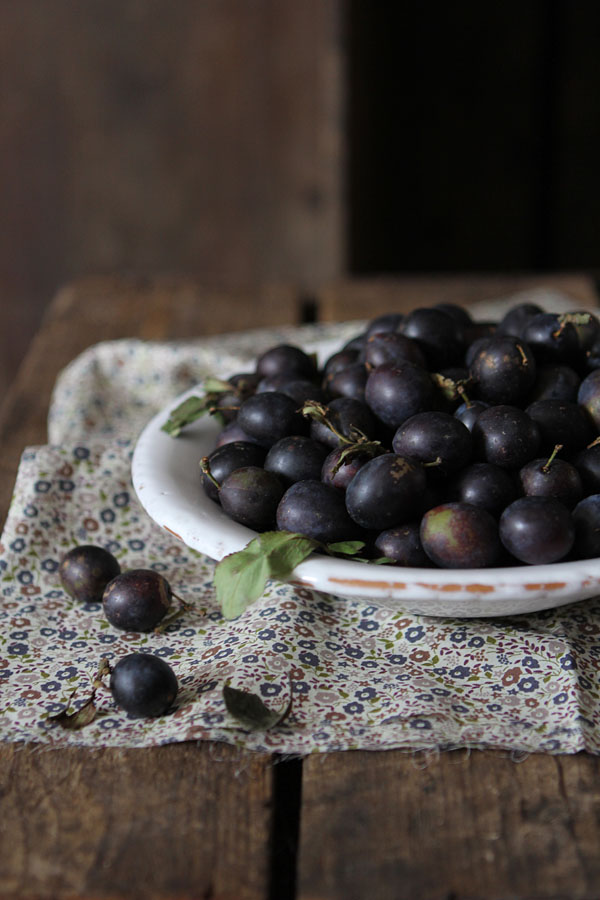
The
sloe or ‘Prunus Spinosa’ is a berry from the blackthorn. Sloes or blackthorns were planted
around the countryside in the 16th and 17th century as hedges around the
fields to keep the cattle in. The word ‘sloe’
comes from the Old English slāh, in Old High German slēha and in Middle Dutch sleuuwe.
Traditionally when making sloe gin,
the berries must be gathered after the first frost and one must prick
each berry with a thorn taken from the blackthorn bush. Sloe gin is made
by infusing gin with the berries. Sugar is required to ensure the
juices are extracted from the fruit. Some swear by freezing the berries
before use.
But I had no sloes…
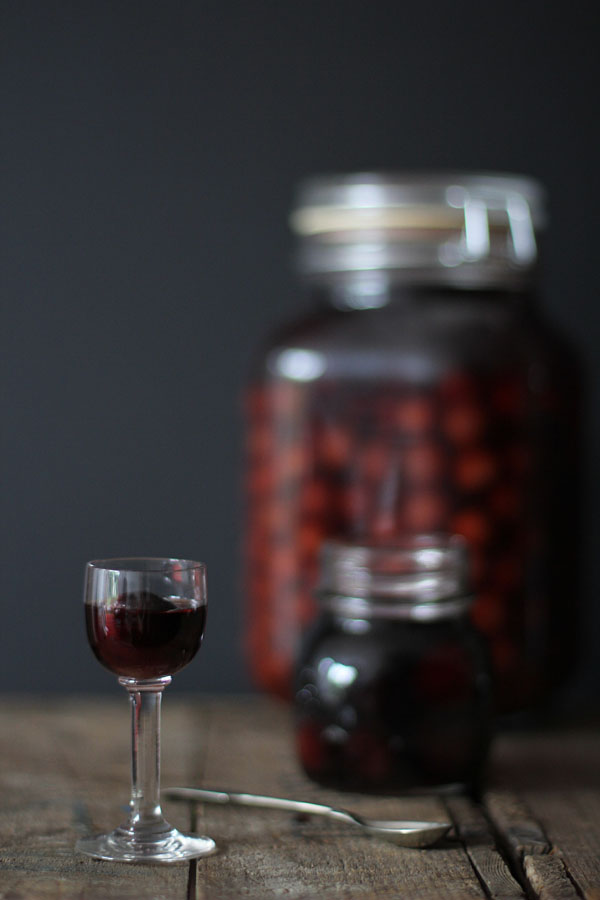
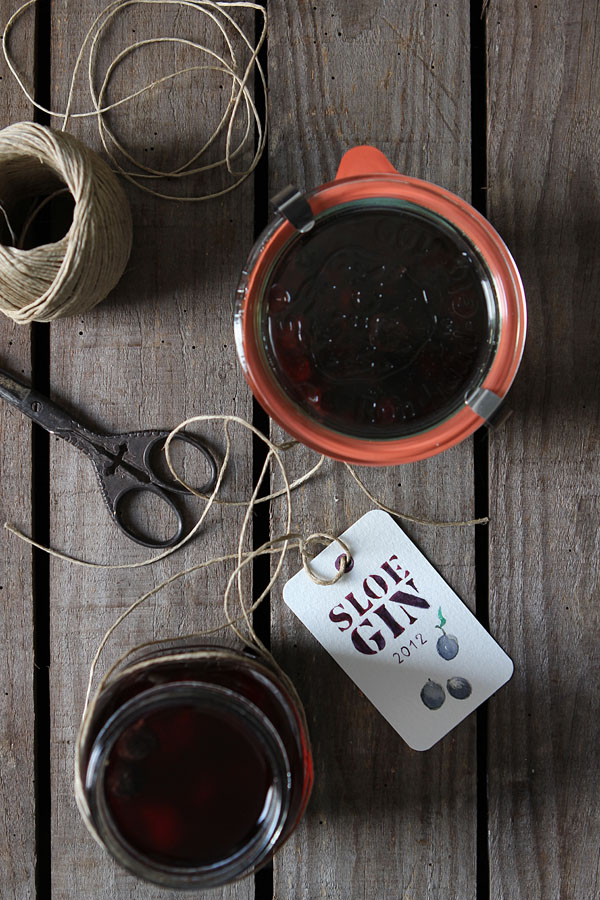
Until a lovely lady offered to send me some of the sloes she had gathered to maker her own boozy preserves. I must say I was quite nervous for them to arrive as they are after all perishable. Luckily they weren’t reduced to jam and I was able to use them thanks to Claire who froze them for the journey. That same day the sloes would be drowned by Gin…
It is so easy to make, the hard part is keeping yourself from opening it too soon to drink it. I’ve been told a ten year old sloe gin has a wonderful flavour… so I decided to hide a bottle from myself so I can actually try it. I think I might put it behind my 8 year old cherry brandy I was able to save.
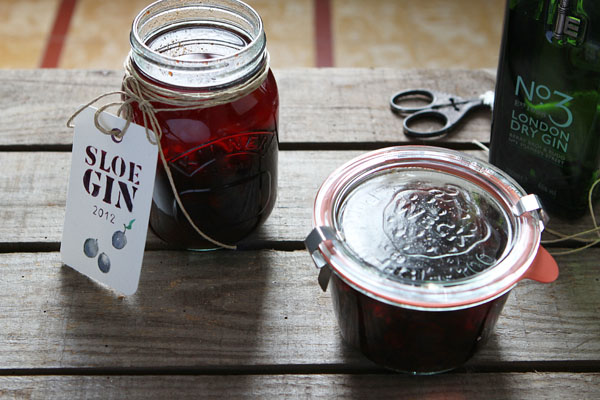
To Make you own sloe gin!
What do you need
500g ripe sloes
250g sugar
1 litre of Gin, I used No.3 London Dry Gin
Method
- Prick the sloes with a thorn from the tree or a toothpick
- Put them in a suitably sized Kilner or jam jar
- Pour over the
sugar and the gin - Close the lid
- Shake and shake every day until the sugar
has dissolved - Store in a dark cupboard
After 3 months
- Strain out the sloes using muslin, bottle and store in a dark
cupboard - Try to wait 1 to 10 + years before opening a bottle.Thank you Claire for the sloes, I will drink to your health when I open a bottle!
You might also like
Cherry brandy
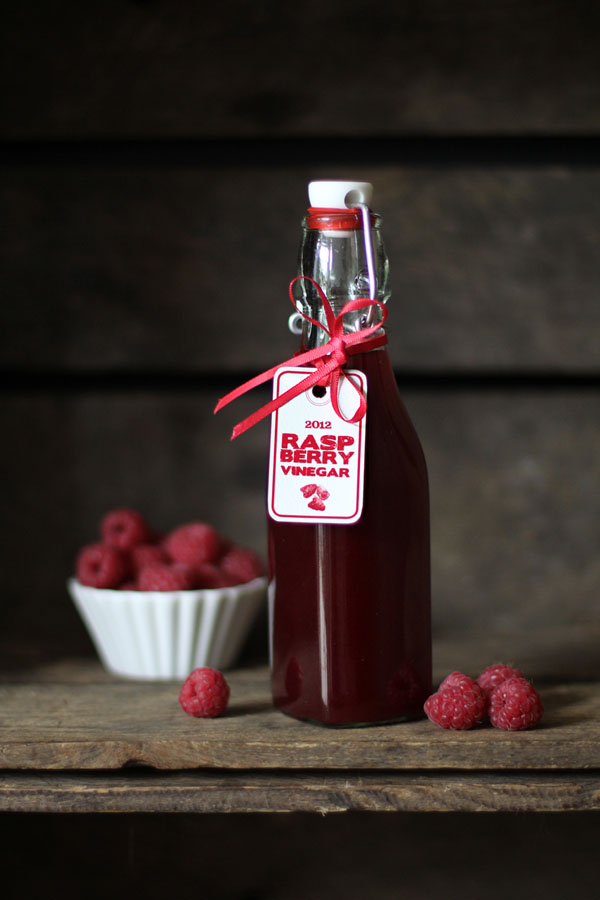
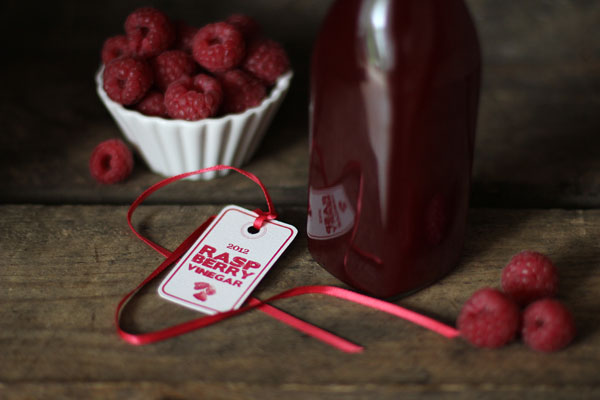
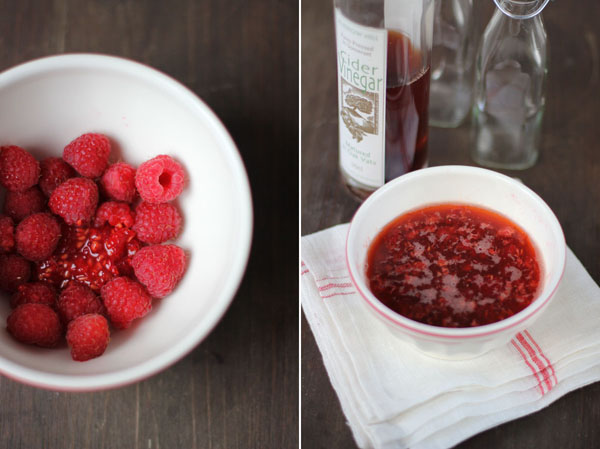
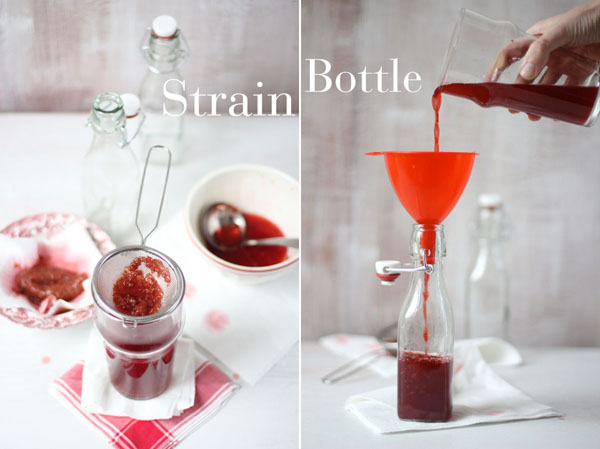
Raspberry vinegar